Blackboard’s content editor allows instructors to create vibrant, media-rich content items for their courses. This editor is available across a variety of customizable content-types, including items, announcements, discussions, tests, assignments, and Grade Center feedback.

Copying and Pasting
When content is pasted from an external source—such as Microsoft Word, Excel, or a webpage— into the content editor, a window will appear, containing two possible options: Keep Formatting or Remove Formatting:

- Keep Formatting will preserve as many formatting elements as possible from the original text. Design elements such as background colors, custom fonts, embedded links, and more will be left in their original format.
- Remove Formatting will provide a simplified version of the text that is more closely aligned with Blackboard’s default fonts and styles. This option is recommended to maintain a consistent look and feel in your course’s written content. Keep in mind that any formatting that is handled by basic HTML, such as bold, italics, underline, and strikethrough, will be preserved if this option is selected.
Inserting Images, Videos, and External Web Links
To insert an image, place the cursor anywhere within the content editor’s textbox, then select the Add Content (+) icon:


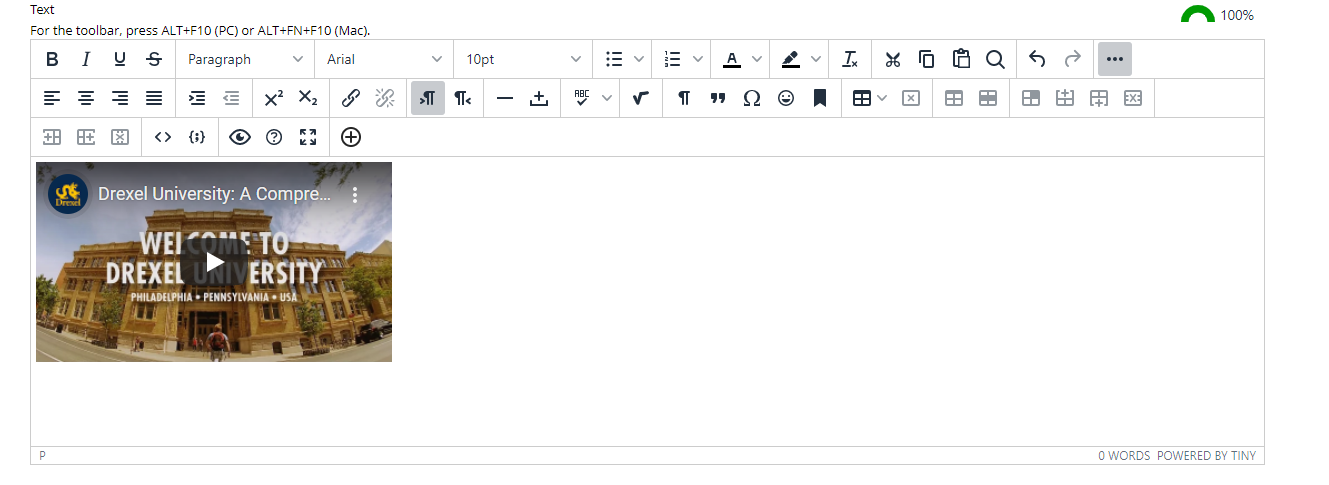
To add a link to a video or an external website, paste the link directly into the text box and press enter. Blackboard will update the link to add a preview of the content. When links to YouTube and other video website are pasted into the text editor, the video will be automatically embedded:

Adding File Attachments
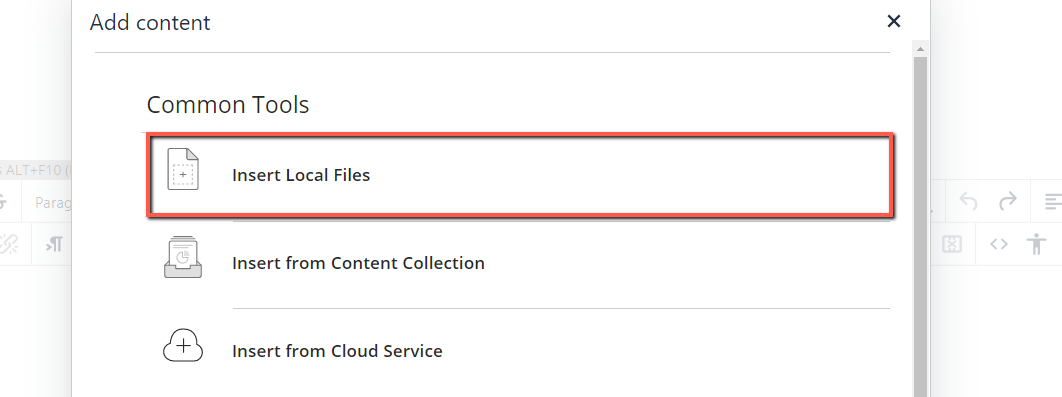
To add a file into your written content, select the Add Content (+) icon and choose from the “Common Tools” or “Additional Tools” available. From the options available, select Insert Local Files to attach a file from your local computer, then open the file that you would like to use. This will create a link to the file within the text editor.
Additional Tools
Blackboard’s content editor contains a variety of formatting and design tools. Descriptions of each tool can be found by hovering your cursor over the tool. Below are several popular tools within the content editor:

- A built-in accessibility checker allows users to quickly scan their text for any common accessibility issues.
- The editor’s code tool allows users to format snippets of text as code within the editor. The tool can accommodate HTML, XML, JavaScript, CSS, PHP, Ruby, Python, Java, C, C#, or C++. Once added, the code displays with typical code formatting and will be separated from the other content within the same text field.
- A preview option is available directly within the content editor. Click on the eye icon for a preview of how the content will look when it is posted.
If you have questions about Blackboard’s new content editor or any of its features, please reach out to the LeBow Instructional Technology Team.